Updated and checked August 22, 2026. This guide reflects the current public setup documentation linked below. Community integrations can change, so verify their repositories before installing or granting access.
Can Codex edit videos in Premiere Pro?
Yes, Codex can help edit videos in Adobe Premiere Pro when it is connected through a compatible Premiere Pro MCP bridge. Codex does not control Premiere by itself: the bridge exposes specific project and timeline actions. You still direct the creative decisions, review every change, and keep a duplicate sequence before testing.
Can ChatGPT edit a video?
ChatGPT by itself does not directly click through an Adobe Premiere Pro timeline. A practical agent-assisted workflow uses Codex—OpenAI’s coding agent—with an MCP server that gives it controlled tools for Premiere. You can then add NVIDIA Parakeet for speech-to-text and HyperFrames for designed motion graphics.
The result is not a one-button replacement for an editor. It is a workflow where you direct the creative decisions and the agent helps perform repeatable technical work. Back up important projects and begin with a duplicate sequence.
The complete workflow at a glance
- Duplicate the Premiere project and sequence you plan to test.
- Install and verify the Premiere Pro MCP bridge.
- Connect the bridge to Codex and begin with read-only discovery.
- Transcribe the footage with Parakeet and review the transcript.
- Use Codex to create a paper edit before changing the timeline.
- Build approved motion graphics in HyperFrames.
- Import the graphics, inspect the sequence, and export a new version.
The safest order is discover, plan, review, edit, inspect, export. Do not begin by asking an agent to change an important production timeline.
What each tool does
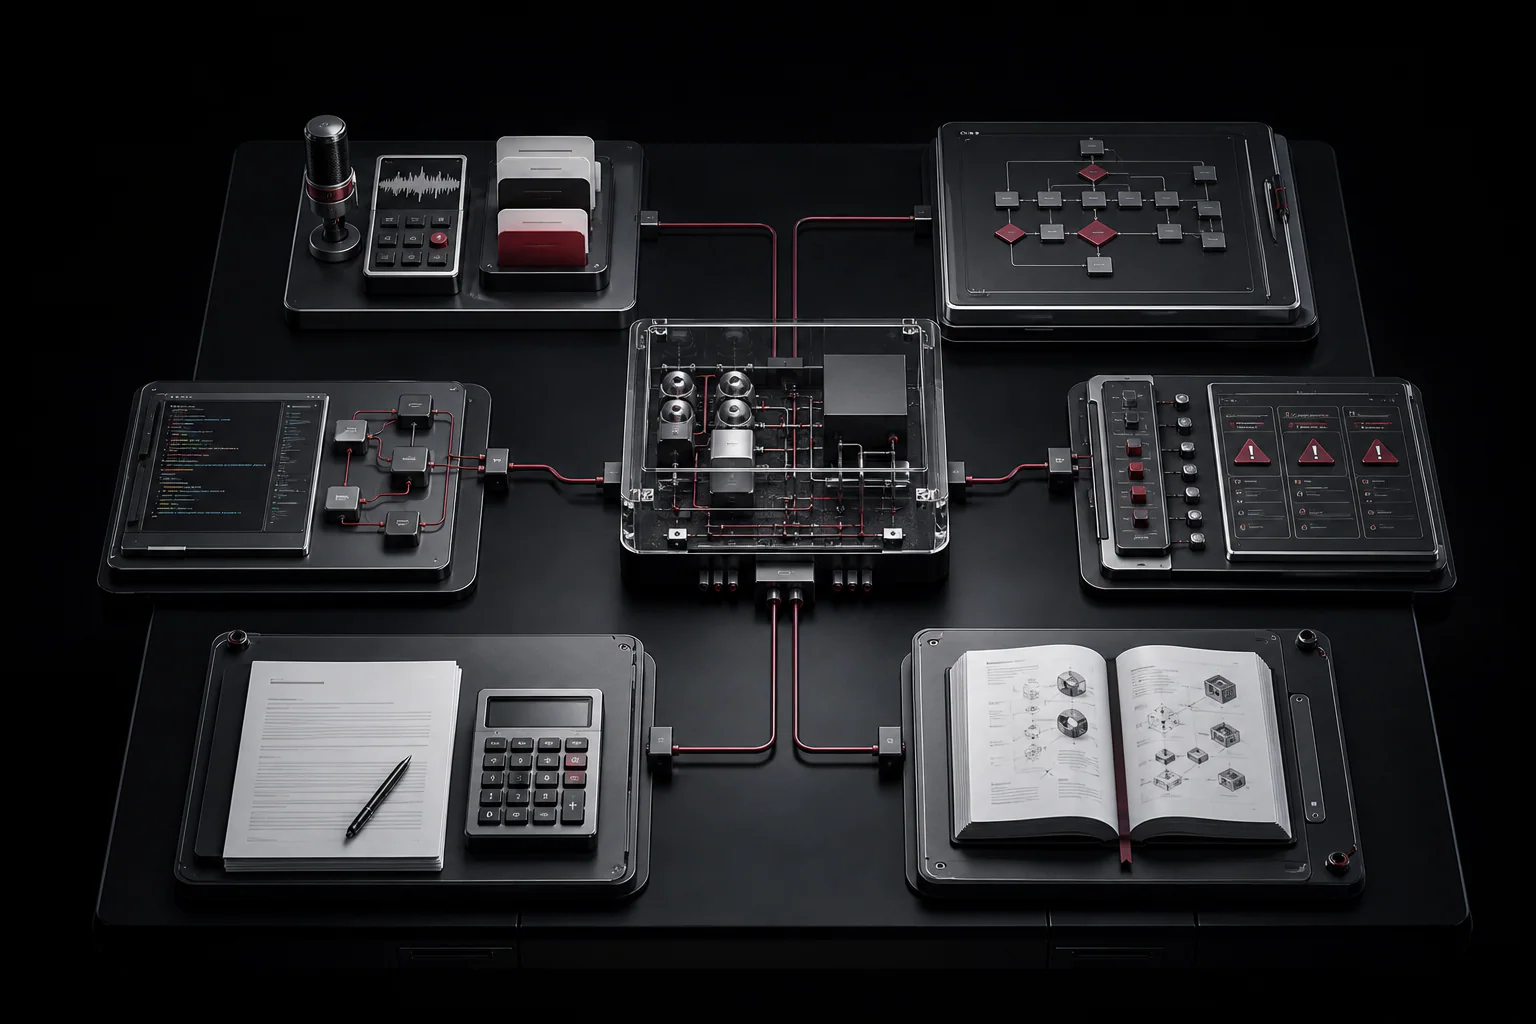
- Codex: the agent that reads your instructions, works with files, and calls connected tools.
- Premiere Pro MCP: the bridge that exposes Premiere project, media, sequence, timeline, effect, and export operations to Codex.
- Parakeet: NVIDIA’s speech recognition model family for transcripts and word-level timestamps.
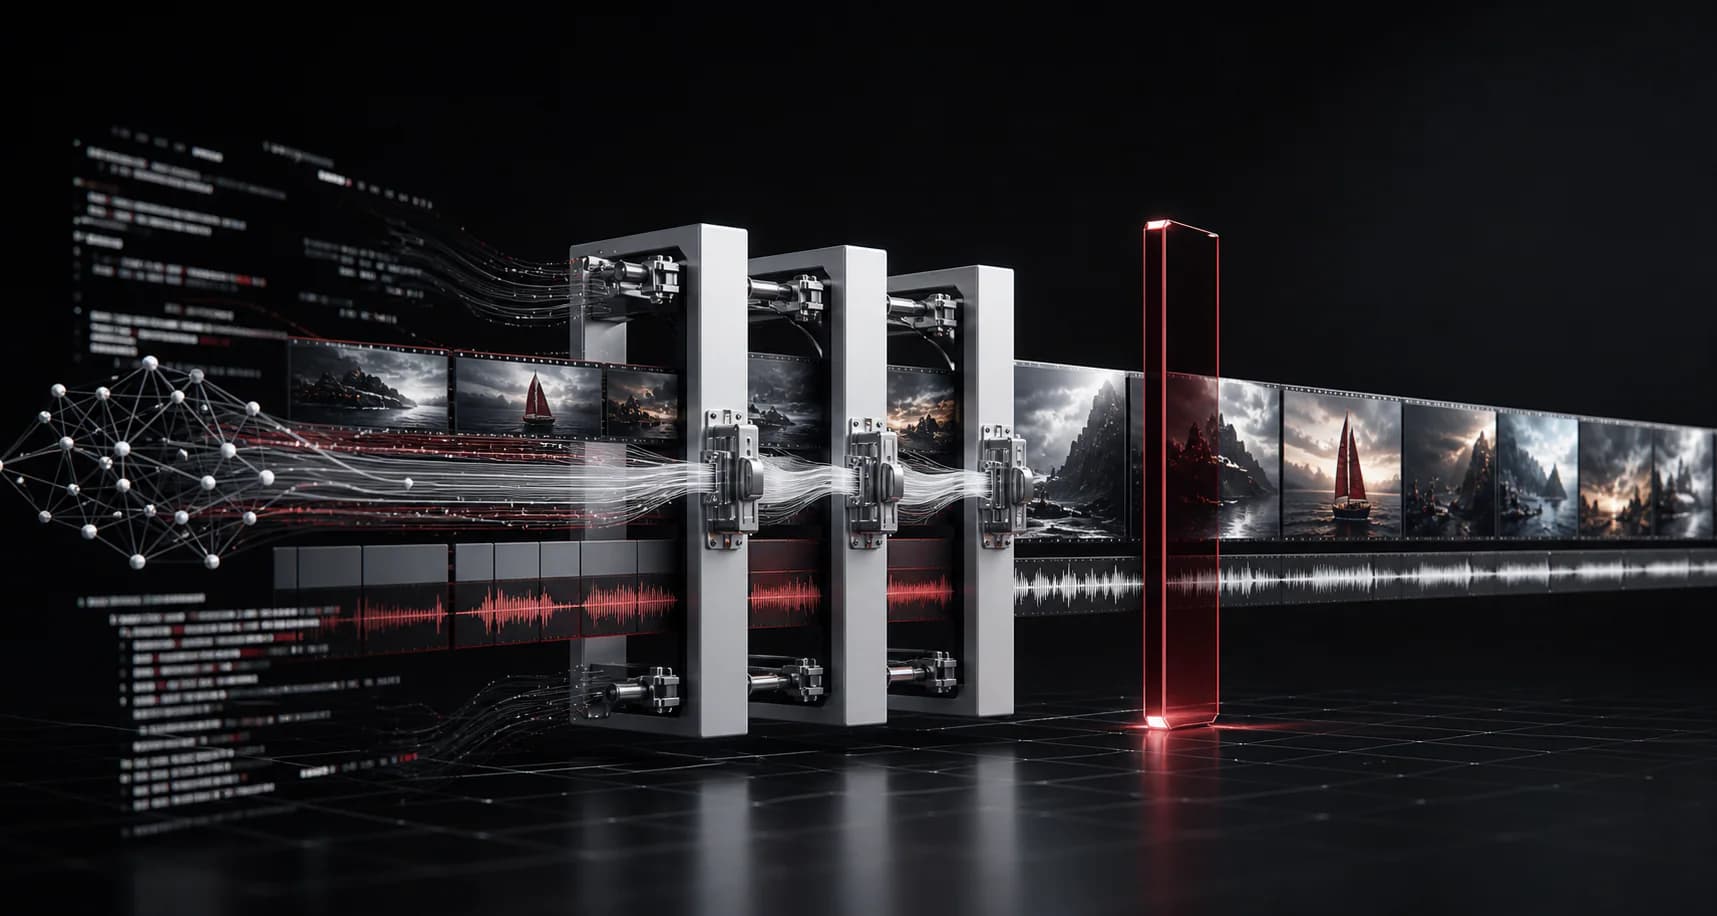
- HyperFrames: an HTML-based framework for deterministic, frame-by-frame motion graphics and video rendering.
What you need before installing
- A Mac for the easiest current Premiere MCP setup
- Adobe Premiere Pro 2020 or newer
- Node.js 18 or newer for the Premiere MCP server
- Node.js 22 or newer and FFmpeg for the current HyperFrames workflow
- Codex installed and signed in with your OpenAI account
- A duplicate or disposable Premiere project for the first test
The Premiere MCP integration described here is a community open-source project, not an official Adobe or OpenAI product. Review the repository and commands before granting access.
Step 1: install the Premiere Pro MCP bridge
Open Terminal and clone the project:
git clone https://github.com/hetpatel-11/Adobe_Premiere_Pro_MCP.git
cd Adobe_Premiere_Pro_MCP
npm run setup:mac
The macOS setup installs the dependencies, builds the server, installs the Premiere CEP extension, enables the bridge, and creates the shared temporary folder.
Register the built server with Codex. Replace the example path with the real absolute path on your computer:
codex mcp add premiere_pro --env PREMIERE_TEMP_DIR=/tmp/premiere-mcp-bridge -- node /absolute/path/to/Adobe_Premiere_Pro_MCP/dist/index.jsRestart Codex after adding the server.
Step 2: start the bridge inside Premiere
- Open Premiere Pro and load a test project.
- Open Window, then Extensions, then MCP Bridge (CEP).
- Set the temporary directory to /tmp/premiere-mcp-bridge.
- Save the configuration.
- Click Start Bridge.
- Confirm the panel says Premiere is ready.
Back in the Premiere MCP project folder, run the safe setup check:
npm run setup:doctorAsk Codex to begin with read-only discovery: “Get the project information, list the sequences, list the project items, and tell me what you see. Do not change anything.”
Step 3: transcribe the footage with Parakeet
First extract clean mono audio with FFmpeg:
ffmpeg -i interview.mp4 -ac 1 -ar 16000 interview.wavNVIDIA documents Parakeet through its NeMo speech toolkit. Python, PyTorch, CUDA, and operating-system compatibility can change, so follow the current NVIDIA NeMo installation documentation for your machine. After NeMo ASR is installed, the core transcription is:
import nemo.collections.asr as nemo_asr

model = nemo_asr.models.ASRModel.from_pretrained(
    "nvidia/parakeet-tdt-0.6b-v2"
)
hypotheses = model.transcribe(["interview.wav"], timestamps=True)
print(hypotheses[0].text)
print(hypotheses[0].timestamp["word"])
Save both the transcript and word timestamps. Use the text to find strong sentences, repeated ideas, pauses, and sections that can be removed. Human-review names, numbers, technical terms, and captions before publishing.
Step 4: plan the cut with Codex
Give Codex the transcript and a clear editorial goal. For example:
“Create a paper edit for a 60-second vertical video. Keep the speaker’s meaning. Open with the strongest clear claim, remove repetition, preserve natural pauses, and return the exact transcript ranges you recommend. Do not edit Premiere yet.”
Review the paper edit yourself. Then ask Codex to create a new sequence instead of modifying the original. Specify the aspect ratio, target length, source clips, and sequence name. Ask it to report every change before exporting.
Step 5: create motion graphics with HyperFrames
Install the current HyperFrames agent skills, then create a project from your video:
npx skills add heygen-com/hyperframes
npx hyperframes init operator-video --example blank --video interview.mp4
cd operator-video
Ask Codex to create the title cards, captions, charts, callouts, or branded transitions you want. Keep every animation tied to the timeline so it renders consistently frame by frame.
Run the quality check and open the preview:
npx hyperframes check
npx hyperframes preview
Review the final preview before rendering. After approval, render a high-quality file:
npx hyperframes render --quality high --output operator-graphics.mp4For overlays, you can render a transparent WebM or MOV when the composition supports transparency, then import it into Premiere above the main footage.
Step 6: finish in Premiere through MCP
Ask Codex to import the approved graphics, place them on the correct video tracks, add only the transitions you requested, and keep the original footage untouched. Review the timeline in Premiere before asking for an export.
A useful final instruction is:
“Check the active sequence for missing media, accidental gaps, clipped graphics, caption timing, and audio peaks. Report problems first. Do not overwrite an existing export.”
Common setup problems
Codex cannot see the Premiere tools
Confirm that the MCP server is registered, restart Codex, and verify that the server command uses the real absolute path to the built project. Then run the repository's diagnostic command before editing anything.
Premiere says the bridge is unavailable
Open the MCP Bridge extension inside Premiere, confirm the temporary directory matches the directory configured for the server, and start the bridge again. Keep the Premiere project open while Codex checks the connection.
The transcript contains incorrect names or technical terms
Treat the transcript as a draft. Review names, numbers, product terms, and captions against the original audio before using timestamps to make cuts.
Graphics are cropped or soft after import
Match the HyperFrames composition dimensions and frame rate to the destination Premiere sequence. Render a short test before producing the complete overlay.
The edit changed more than expected
Stop and return to the duplicate sequence. Ask the agent to list the intended operations first, approve a smaller batch, and inspect the timeline after each stage.
A safe AI video editing workflow
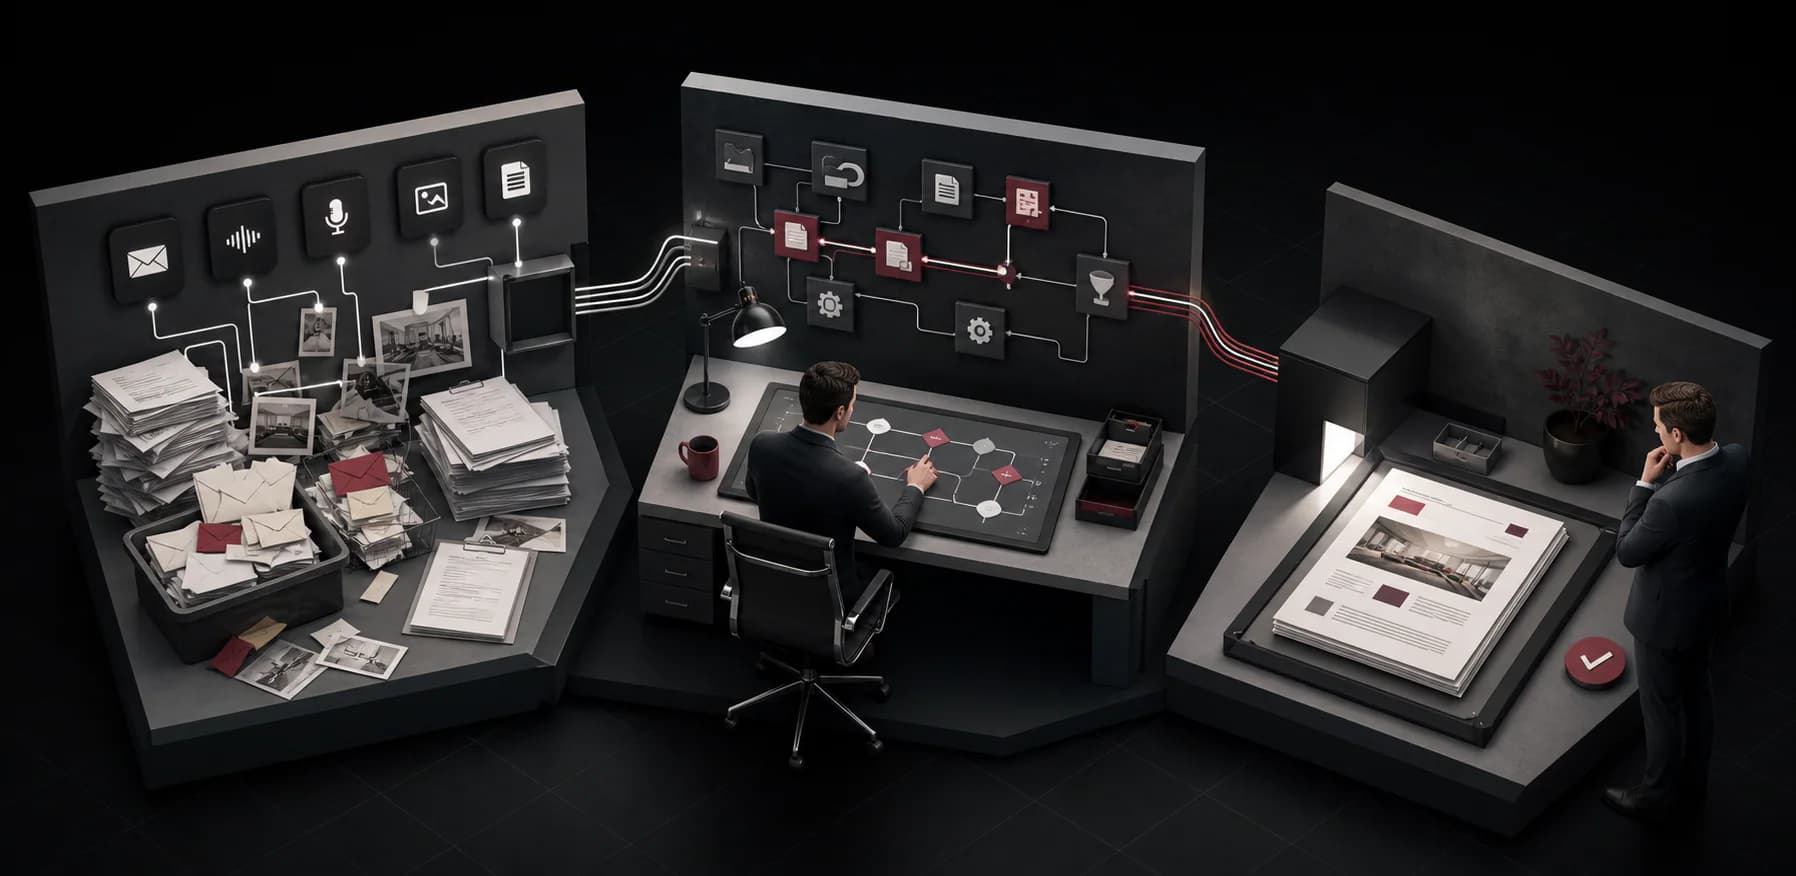
The operator stays responsible for the story, the taste, and the final approval. The agent handles repetitive discovery, timeline operations, file preparation, and versioned rendering. This follows the Oprators principle: use AI to build, not to think.
Official and primary references
- Introducing the Codex app
- Adobe Premiere Pro MCP repository and setup
- HyperFrames quickstart
- NVIDIA NeMo automatic speech recognition documentation
Want to turn a technical workflow into a responsible client service? Explore the AI Operator learning hub, build a personal plan with the 90-day AI operator roadmap, or see the Oprators program.